

Installing a DROP™ 250 & 600 Stainless Steel Drop Spreader Setup [VIDEO]
Created May 23, 2022
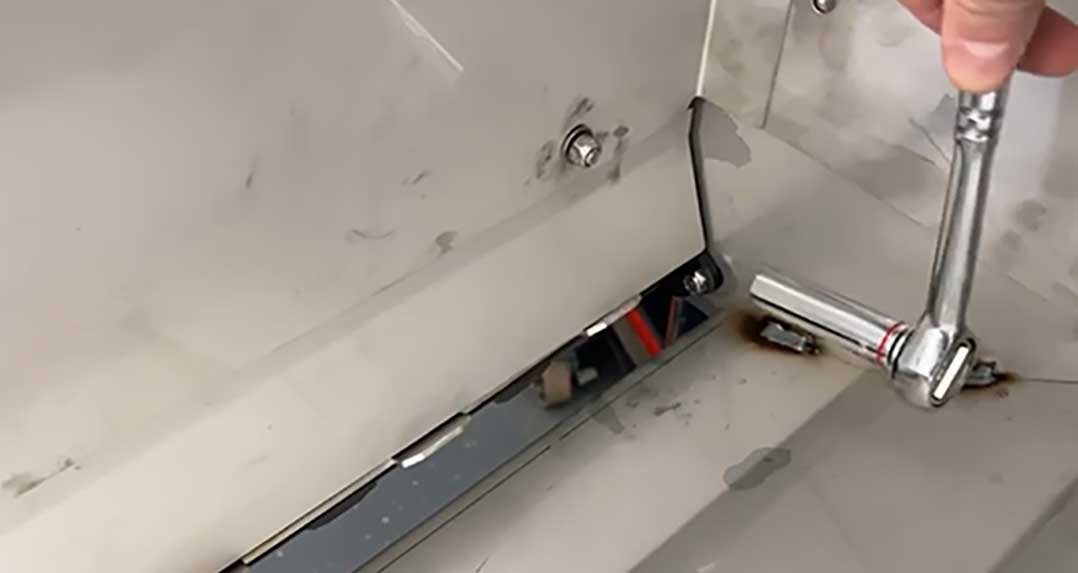
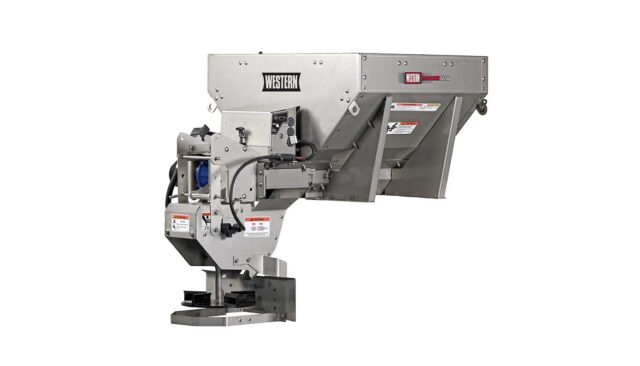
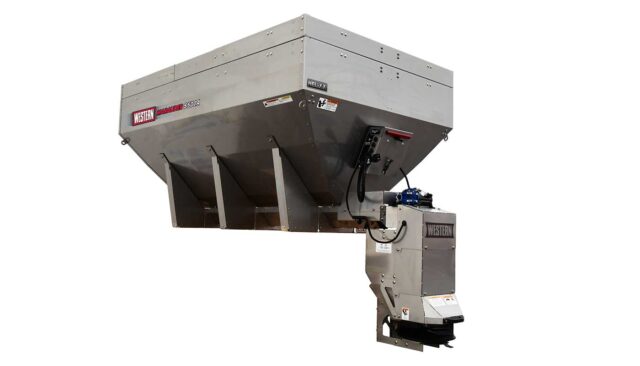
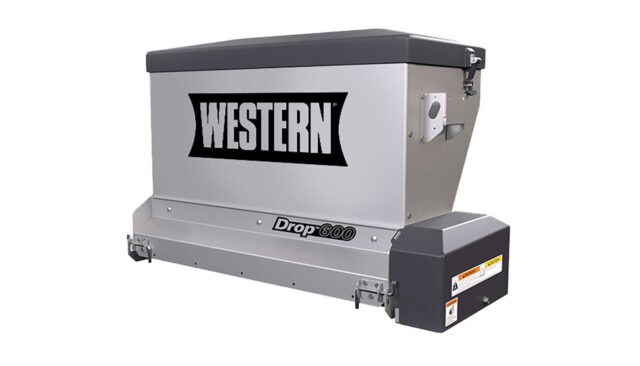
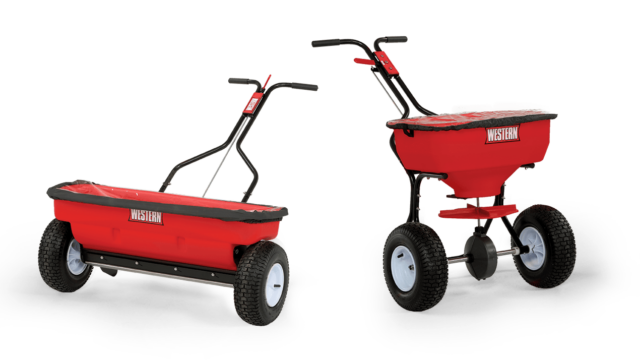
Maintaining the correct setup for your WESTERN® DROP™ spreader is essential for achieving consistent material flow and effective coverage during snow and ice management. The key to performance lies in the flap agitator, which creates vibration to keep material loose and moving freely, and in configuring the baffles to match your desired spread width.
By following the steps below, you can customize your spreader settings based on the specific material you are using (whether it’s coarse, dry material or finer, free-flowing materials.)
Step-by-Step Installation & Adjustments
1) Prepare for Adjustment: Begin by disconnecting the spreader harness from your vehicle. Rotate the locking pins to lower the trough, which will empty any remaining material from the hopper.
2) Access the Agitator: Once the lid and top screen are removed, loosen the three nuts securing the flap agitator.
3) Adjust Flap Agitator Position: Move the flap based on your material needs
- Coarse/Dry Material: Set the agitator near the top to reduce vibration
- Compacting Material: Set to a middle position for increased vibration
- Fine/Free-Flowing Material: Set near the bottom to limit flow to the auger
TIP: Always tighten fasteners according to the torque chart in your owner’s manual
4) Configure Spread Width: Loosen the fasteners and rotate the baffles to achieve your desired spread
- 30-inch width: Point the baffles upwards
- 36-inch width: Point the baffles downwards
5) Finalize Setup: Raise the trough, secure it with the locking pins, and reconnect the vehicle harness to complete the process.