

Learn How to Install a WESTERN® UTV Plow In Your Own Garage or Shop
Created January 24, 2022
Mechanically inclined homeowners and snow and ice control professionals are more than capable of installing their own UTV plow with basic tools in their garage. Since the vehicle and plow are smaller, it’s easier to maneuver and lift as needed in a confined space. Learn what tools will be needed and gain advice from the experts at WESTERN before getting started.
Choosing the Right WESTERN UTV Plow
WESTERN has a line of plows engineered to fit a wide range of UTV makes and models. To ensure it’s the right fit for your utility vehicle, verify it with the WESTERN Quick Match system. It will also notify you if a stronger suspension or other vehicle adjustments may be needed. You can then purchase a UTV plow as a cash and carry item from your local WESTERN dealer.
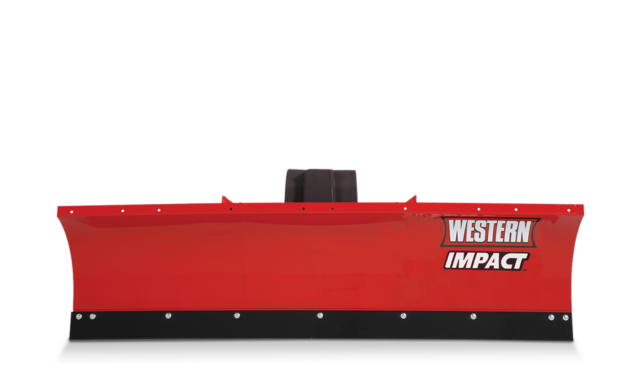
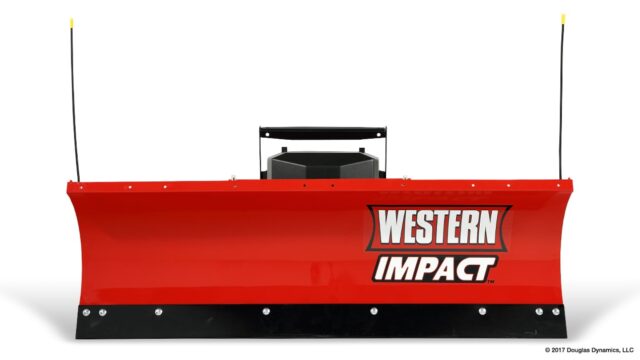
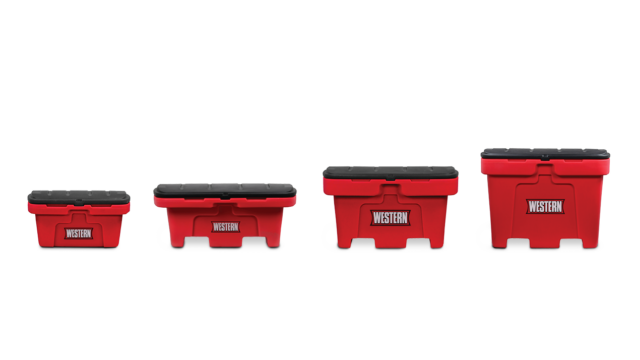
Mid-Duty IMPACT™ Straight Blade:
Intended for crossover and sport UTVs with 5’6” and 6’0” blade width options. Packages available in either full hydraulic lift and angle or winch lift manual angle. The unique patent-pending Sway-Frame™ allows the blade to shift side-to-side, keeping it in optimal position for maximum cleanup.
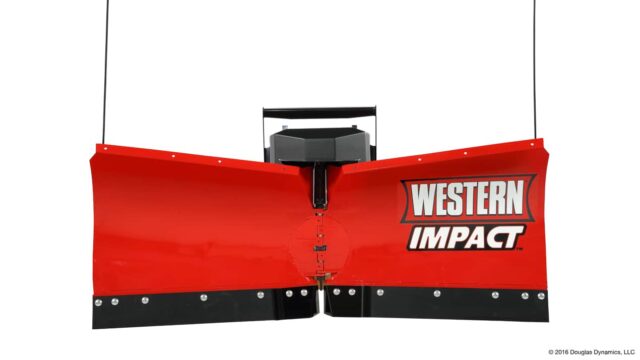
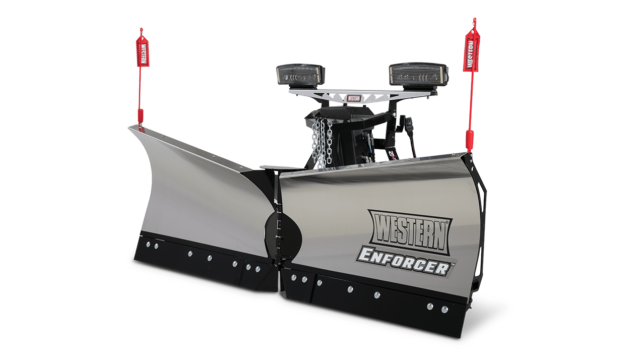
Heavy-Duty IMPACT™ Straight Blade or V-Plow:
Fits full-size and heavy-duty work UTVs with a 6’0” blade width. The straight blade and v-plow both feature Scrape Lock for clean scraping and back dragging abilities.
Preparing for a UTV Plow Installation
WESTERN makes it easy by providing a list of applicable tools and detailed Installation Instructions that explain the process from start to finish.
Don’t Doubt the Importance of a Dry Run
Lay all of the pieces on the ground, match them up with the parts list that comes with the mount. There is a big possibility you could put it all on backwards. Before you even put the mount on, slide the side receiver in or you could lose valuable time if it doesn’t slide properly in the end. Lay out the electrical harness and make sure it will reach the battery and not interfere with UTV parts.
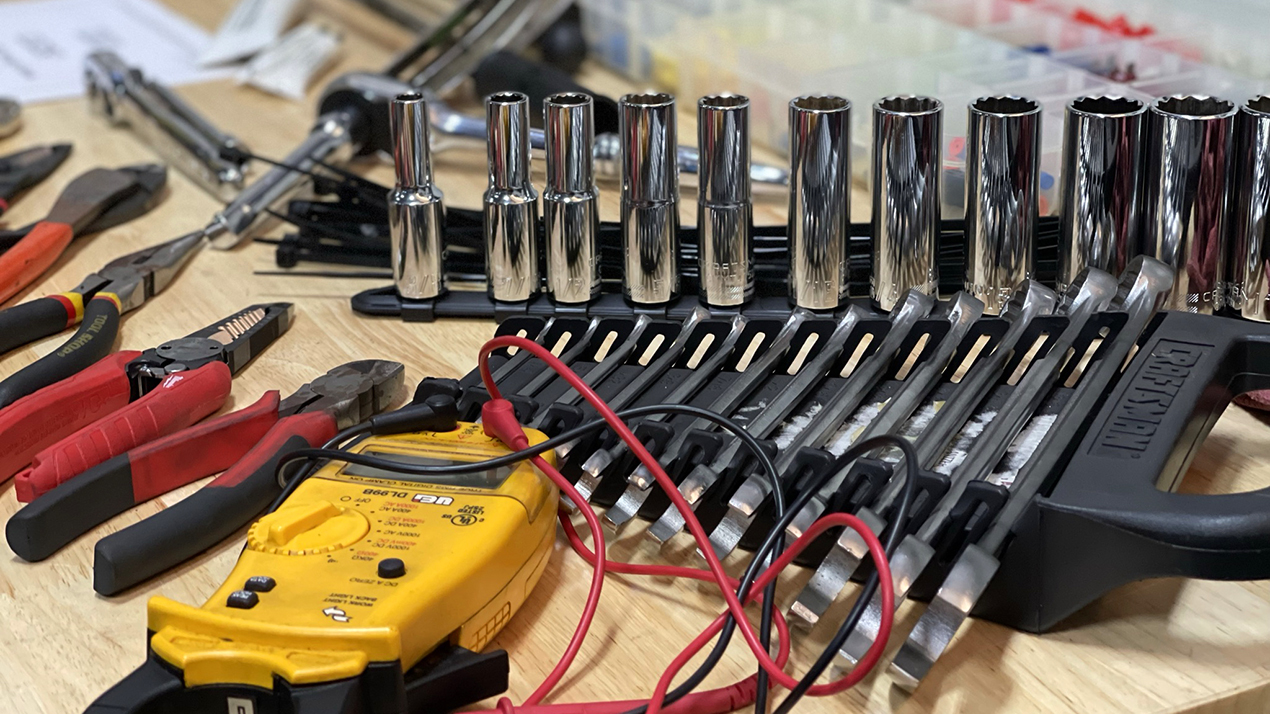
Tools Needed for Installation
- 3 Plow Components (Blade Assembly, Big Box w/ Mount & Electrical Harness, and Controller)
- Crescent Wrench
- Regular Wrench Set
- Torque Wrench
- Ratchet & Socket Set W/ Extensions
- Butt End Electrical Connectors
- Electrical Wire Cutters
- Crimp Tool
- Hammer
- Needle Nose Plyer
- Basic Automotive Tool Set
- Floor Jack or Jack Stand/Hoist
- Impact & Regular Drill
- Drill Bit Set
- Multi Meter
- Flashlight
- PPE Safety Glasses, Gloves, etc.
- Rags
- Pry Bar
- Side Cutter
- Zip Ties
- Electrical Tape
- Dielectric Grease
- Hydraulic Oil & Oil Pan
WATCH NOW: Mid-Duty UTV Plow Installation on a John Deere
Here’s a video tutorial of how to install the mount and electrical for the WESTERN® Mid-Duty IMPACT™ UTV Plow on a John Deere XUV 835/865 Gator.
Step-By-Step Instructions
Even though this video walks through a John Deere installation, other UTV manufacturers like Kubota, Can-Am, or Polaris are very similar. The main difference is the equipment (mount and wiring). Depending on how familiar you are with UTV plow installations, it’s best to plan for 2-5 hours to complete this install.
BEFORE YOU BEGIN: Read and understand the Installation Instructions before installing the snowplow.
- Inspect all parts that are required to perform this installation.
- Safely gain access to the front bottom section of the vehicle.
- Remove the front skid plate.
- Follow the installation instructions sent with the mount assembly. Index and install the two nut bars into the front of the frame channels.
- Place the upper angle bracket on the top side of the frame. Then hold the lower bracket assembly in place, align the holes and insert the provided bolts from the bottom up. Loosely tighten them. You will have to do this on both sides.
- Install the blade mount into place using something to support it as you install the four bolts through the mount and frame into the nut bar that was earlier installed. Tighten loosely.
- Continue by loosely attaching the blade mount to the front upper frame brace with two bolts each side to hold it in place.
- Next align the bolt holes on the upper part of the blade mount on both inner and outer sides of the frame and loosely install the two bolts and nuts. Repeat this on the other side as well. Tighten all loose fasteners. See torque spec chart in installation instructions.
- Install the frame brace between the inner and upper vehicle frame. Use the three fasteners provided in the kit.
- Next route the vehicle harness through the front of the vehicle and connect the WESTERN power connector to the vehicle provided winch electrical cable at the front of the vehicle.
- Continue routing the vehicle harness up through the front compartment of the vehicle towards the bulkhead. Locate the John Deere mating connectors, remove plug, and connect the female plow control harnesses.
- From inside the vehicle facing the dash panel, start by removing the center upper panel. This is held in place by four plastic retainers.
- Next, remove the shift handle cap and retaining nut with handle body. From here you can remove the center panel.
- Remove the two screws holding in the bottom dash panel storage compartment and remove compartment.
- Locate the John Deere harness plug in the dash and remove connector cap. Move any other wiring out of the way before drilling the three holes as shown in the video.
- Follow the installation instructions for hole location and size.
- Install John Deere dash harness #BM26268 into the dash drilled locations. Secure harness connectors with supplied retaining nuts and loom when needed.
- Reassemble the dash as required.
Expert Advice Before You Get Started
Now that you have a better understanding of how to prepare your tools and complete the installation, here are a few common questions answered by WESTERN Technical Support.
- Do You Have Any Advice/Tips for Someone’s First Installation?
- How to Determine Which Plow Fits Your Utility Vehicle?
- If I Already Have a Winch Installed, Do I Need to Remove It for Install?
- Where Do I Get Power From? (Battery or Fuse Block)
- What Can I Do If Ground Clearance is Diminished After Install?
- Any Difference When Installing a Straight Blade vs. V-Plow?
- How Long Does a UTV Installation Typically Take?
If you have additional questions, check your Owner’s Manual or Mechanic’s Guide for information on operation, maintenance, and troubleshooting. Still have questions? Contact your local WESTERN dealer for support.